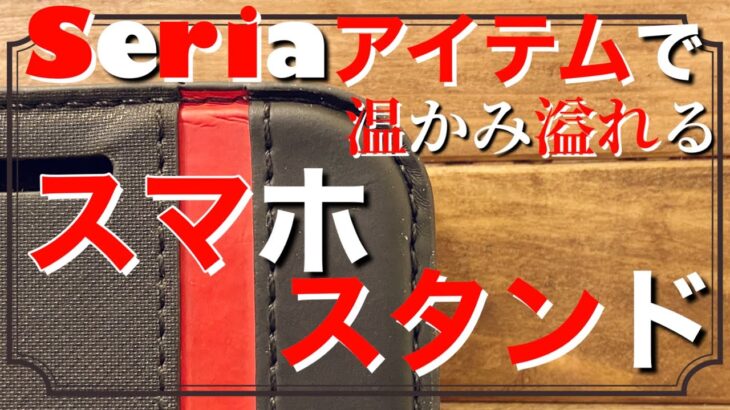
今回は100均ショップセリアの購入品をメインアイテムとして木材の温かさと落ち着きがある充電可能なスマホスタンドを作ってみました
木材の中でもひときわ高級感を引き立たせる材種『檜』
セリアではこの檜も100円(税抜)で購入できるって凄いですよね
またオシャレな雰囲気を引き立たせてくれるアイアン部材もセリアでは種類豊富に販売されていました
なので今回は木材は檜を4点使いスマホのサイズに丁度良いサイズのインテリアアイアンバーを購入してメイン材料の合計は500円(税抜)で決して500円では購入できないような雰囲気のスマホスタンドを製作することができました
動画内のポイントとして
今回は背面板を繋げる際にそれぞれ片しゃくりの加工を入れて繋ぎ目に接着剤を入れお互いを重ね合わせて接着面の面積を大きくし強度を増すような方法で繋げてみました
そして全面的に背面板やベース板のそれぞれ見える部分はサンドペーパーで面取りを施しましたが、そうする事によって木材の表情を全面的に温かみがある雰囲気がより感じられたかと思います
また背面板の下部と受け材の部材についてはボアビットで穴を作った後に片しゃくりの加工を入れましたが、こうする事によってボアビットを使用する際に安定感がかなり増しますので先に穴加工を施した後にトリマー加工を施す方がオススメです
そして最後に取り付けたアイアンバーはビスを使用し取付を行いましたが、取り付けの際にはビスの長さやビスのヘッド部分のサイズには充分にご注意ください
なお動画内のビスのサイズは皿ビスの長さ6mmヘッドのサイズは4mm使用しております
今回はスマホスタンドという形状で製作をしましたが板を繋げる方法や面取り同士を合わせて表情を出す加工などは別の形でも使える事ですので、ぜひ今後のDIY活動のご参考にして頂ければと思います
最後に
今回の動画をご視聴頂き参考になった!気に入った!と思って頂けましたら
チャンネル登録 ✨
高評価 (グッドボタン)👍
動画に関する感想などをコメント ✏️
よろしくお願いします
LETS CHALLENGE✨
LETS DIY✨
This time, I tried to make a rechargeable smartphone stand with the warmth and calmness of wood, using the purchased items of 100-yen shop Ceria as the main item.
“Hinoki”, a grade of wood that brings out the most luxurious feeling
It’s amazing that you can buy this cypress for 100 yen (excluding tax) at Ceria.
In addition, a lot of iron parts that complement the fashionable atmosphere were sold in Ceria.
So this time, I used 4 cypress woods and bought an interior iron bar that was just the right size for my smartphone, and the total main material was 500 yen (excluding tax), so I bought a smartphone stand with an atmosphere that I could never buy for 500 yen. I was able to make it
As a point in the video
This time, when connecting the back plates, I put a hiccup process on each side, put an adhesive on the joint, and put them on top of each other to increase the area of the adhesive surface and increase the strength.
And the part where each of the back plate and the base plate can be seen is chamfered with sandpaper, but by doing so, I think that the expression of the wood was totally warm and warm.
Also, for the lower part of the back plate and the member of the receiving material, I made a hole with a bore bit and then hiccuped it, but by doing this, the sense of stability will increase considerably when using the bore bit, so make a hole first. It is recommended to apply trimmer processing after applying
And the iron bar installed last was installed using screws, but please be careful about the length of the screw and the size of the head part of the screw when installing.
The size of the screw in the video is 6 mm in length of the countersunk screw, and the size of the head is 4 mm.
This time, I made it in the shape of a smartphone stand, but the method of connecting boards and the processing of making facial expressions by matching chamfers can be used in other forms, so please refer to it for future DIY activities. think
lastly
It was helpful to watch this video! favorite! If you think
Subscribe to the channel ✨
Highly rated (Good button) 👍
Comments on videos ✏️
thank you
LETS CHALLENGE ✨
LETS DIY ✨
#DIY #100均 #セリア #あじざんまい #スマホ #木材 #スタンド
